This guide uses FullPageOS as the base image so your Raspberry Pi can boot directly into NannyAi display mode with minimal setup.
What you are installing
You are installing FullPageOS, a Raspberry Pi distribution that boots straight into fullscreen Chromium. After imaging the card, you point FullPageOS to NannyAi so the Pi opens your wall display on boot.
Choose a display
The calendar does not need a special touchscreen. If the screen has HDMI input and can stay on where your family will see it, it is probably a good candidate.
- Old HDMI TV: great for kitchens, mudrooms, or family rooms where big text matters more than desk-perfect sharpness.
- Spare computer monitor: tidy, inexpensive, and usually easy to wall mount or place on a small shelf.
- Small portable HDMI display: useful for command centers, counters, and apartments where a full TV is too much.
- Touch display: optional. Use one if you like the all-in-one feel, not because the calendar requires it.
Supported hardware
- Raspberry Pi 4 Model B (any RAM variant)
- Raspberry Pi 5
- microSD card, Raspberry Pi power supply, and an HDMI cable that fits your screen
- Any HDMI TV, monitor, or wall display; 1080p is ideal, but smaller screens can work if they are readable from your usual viewing distance
The firmware is supported on Raspberry Pi 4 and Raspberry Pi 5 only. Touch can work with compatible Raspberry Pi, USB, or HDMI touch displays, but it is not part of the everyday calendar experience.
Flash with Raspberry Pi Imager
- Install Raspberry Pi Imager on your Mac or PC.
- Insert the SD card you will use in the Pi.
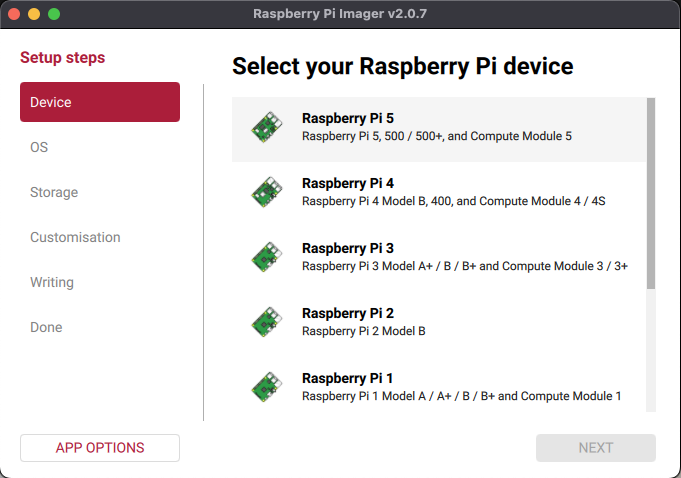
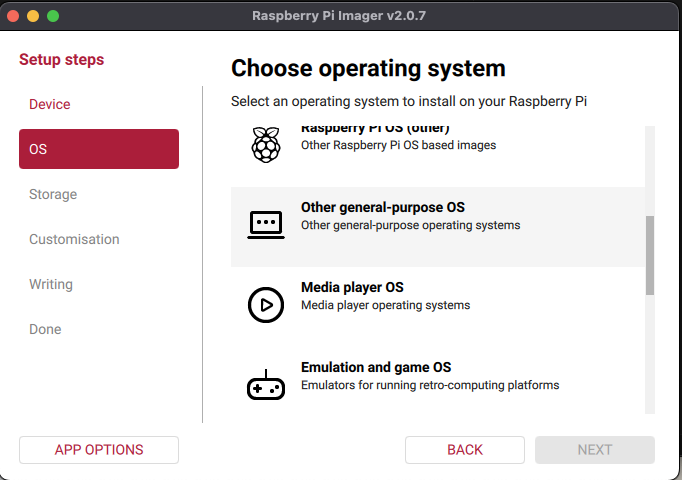
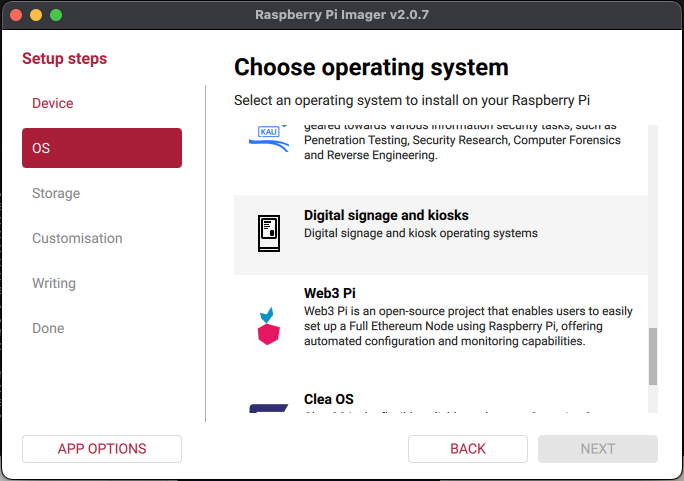
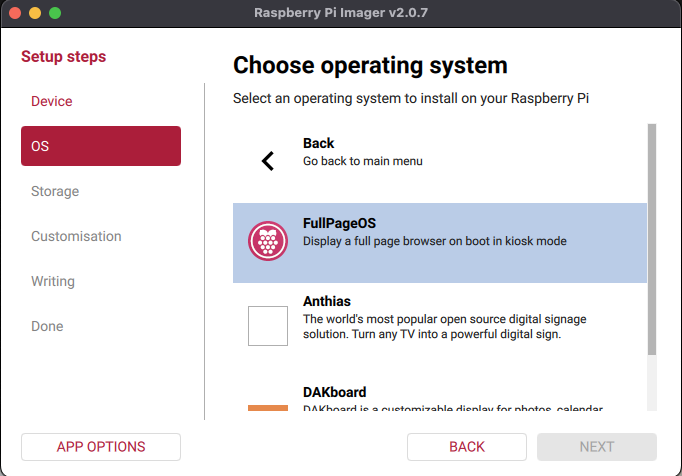
- In Imager, choose your Raspberry Pi model, then choose an OS and pick FullPageOS from the available list.
- Write the card, then eject it safely.
Set the startup URL in FullPageOS
Before the first boot, open the boot partition on your computer and edit the FullPageOS config text file:
/boot/firmware/fullpageos.txtSet the URL value in that file to:
https://ournanny.ai/displaySave the file, insert the card into the Pi, connect HDMI and power, and let it boot.
After the device boots
After first boot, sign in and open the dashboard to connect the screen to your household.
Downloads and integrity
Use the official FullPageOS project and release information from GitHub: github.com/guysoft/FullPageOS.